Sharpening cutting tools is a fundamental operation. It may seem paradoxical, but a sharper tool is actually "less dangerous" than one that cuts poorly. Consider the force required to drive a chisel or gouge that is not sharp enough to score a block of wood: if you were to accidentally lose control of the tool (which statistically happens at least once in a luthier's life), it would bury itself anywhere with a very high level of kinetic energy to dissipate. If, by bad luck, your hand were to be in the trajectory, I'll let you imagine the consequences (and I'm speaking from experience). If we take care to keep our "blades" in good sharpening condition, we can reduce this risk: in the unfortunate event that the chisel or gouge were to "slip", we might be able to stop it in time to limit the damage. With this, I don't mean to underestimate the danger of these tools (a mistake that is often made): the problem is that, sometimes, a lot of concentration, attention, and caution is used when operating machinery, but people tend to "relax" too much when handling "manual" cutting tools. Paradoxically, in fact, you are more likely to injure yourself with the latter, precisely because of the excessive confidence we place in them!
Links to videos showing the sharpening process can be found below.
Sharpening Cutting Tools
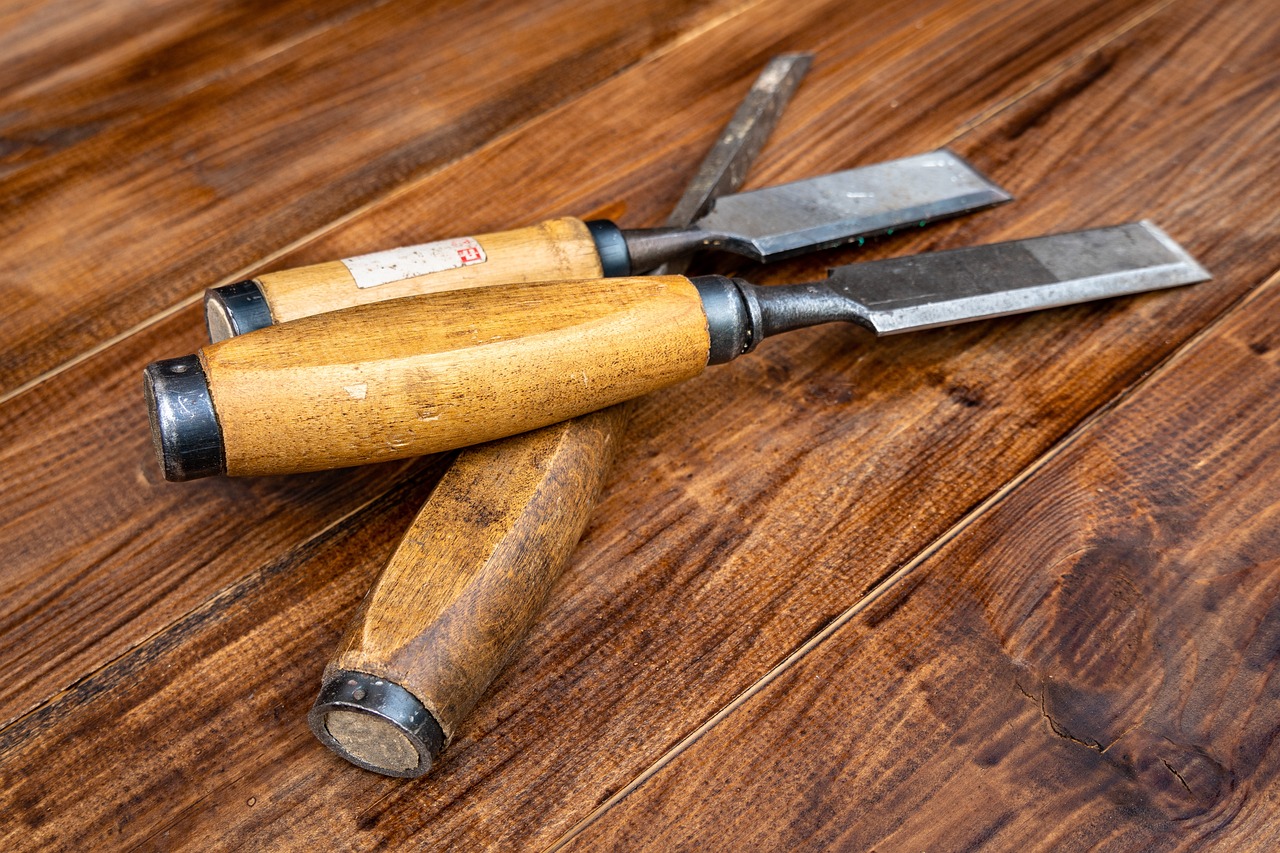
Let's divide our blades into two categories: single-bevel and double-bevel. Most of the tools in our workshop will be sharpened as single-bevel: think of paring knives, all our sets of gouges, chisels, and plane blades. These are usually sold with a pre-set "edge". So it will be sufficient to grind the edge, starting with the waterstone. After sharpening with the waterstone, the edge is finished on the stone (or on "sandpaper" such as the Scary Sharp series). The grits used are usually two: after sharpening on the waterstone, the edge is concave and there is a lot of "burr" on the edge. To "flatten" the edges of the edge (and, consequently, remove most of the burr), a polish is given with a 1000-grit stone/paper. It is important not to insist with the 1000-grit abrasive: it should only be used to remove excess burr and to rectify the edge. To understand if the edge is rectified adequately, simply make sure that it does not show the marks of the waterstone, but that it is instead smoother and more uniform.
Next, we move on to a 6000/8000 grit stone for the finishing stage. In this phase, any remaining burrs are removed, and the cutting edge takes on a polished appearance. As a final step, it is advisable to carry out a polishing also by means of leather and abrasive paste. For this purpose, you can use the leather wheel usually included in water-cooled grinding wheels or, alternatively, a simple strop (preferably a rigid one). This operation "softens" the edge of the blade and will make the cut more fluid and smooth.
In the first video, I draw attention to a process that, in my opinion, tends to be underestimated or not practiced as often as it should: the truing of waterstones. This is actually an operation that should be performed frequently: with a perfectly flat stone, we will be able to sharpen more easily and accurately.
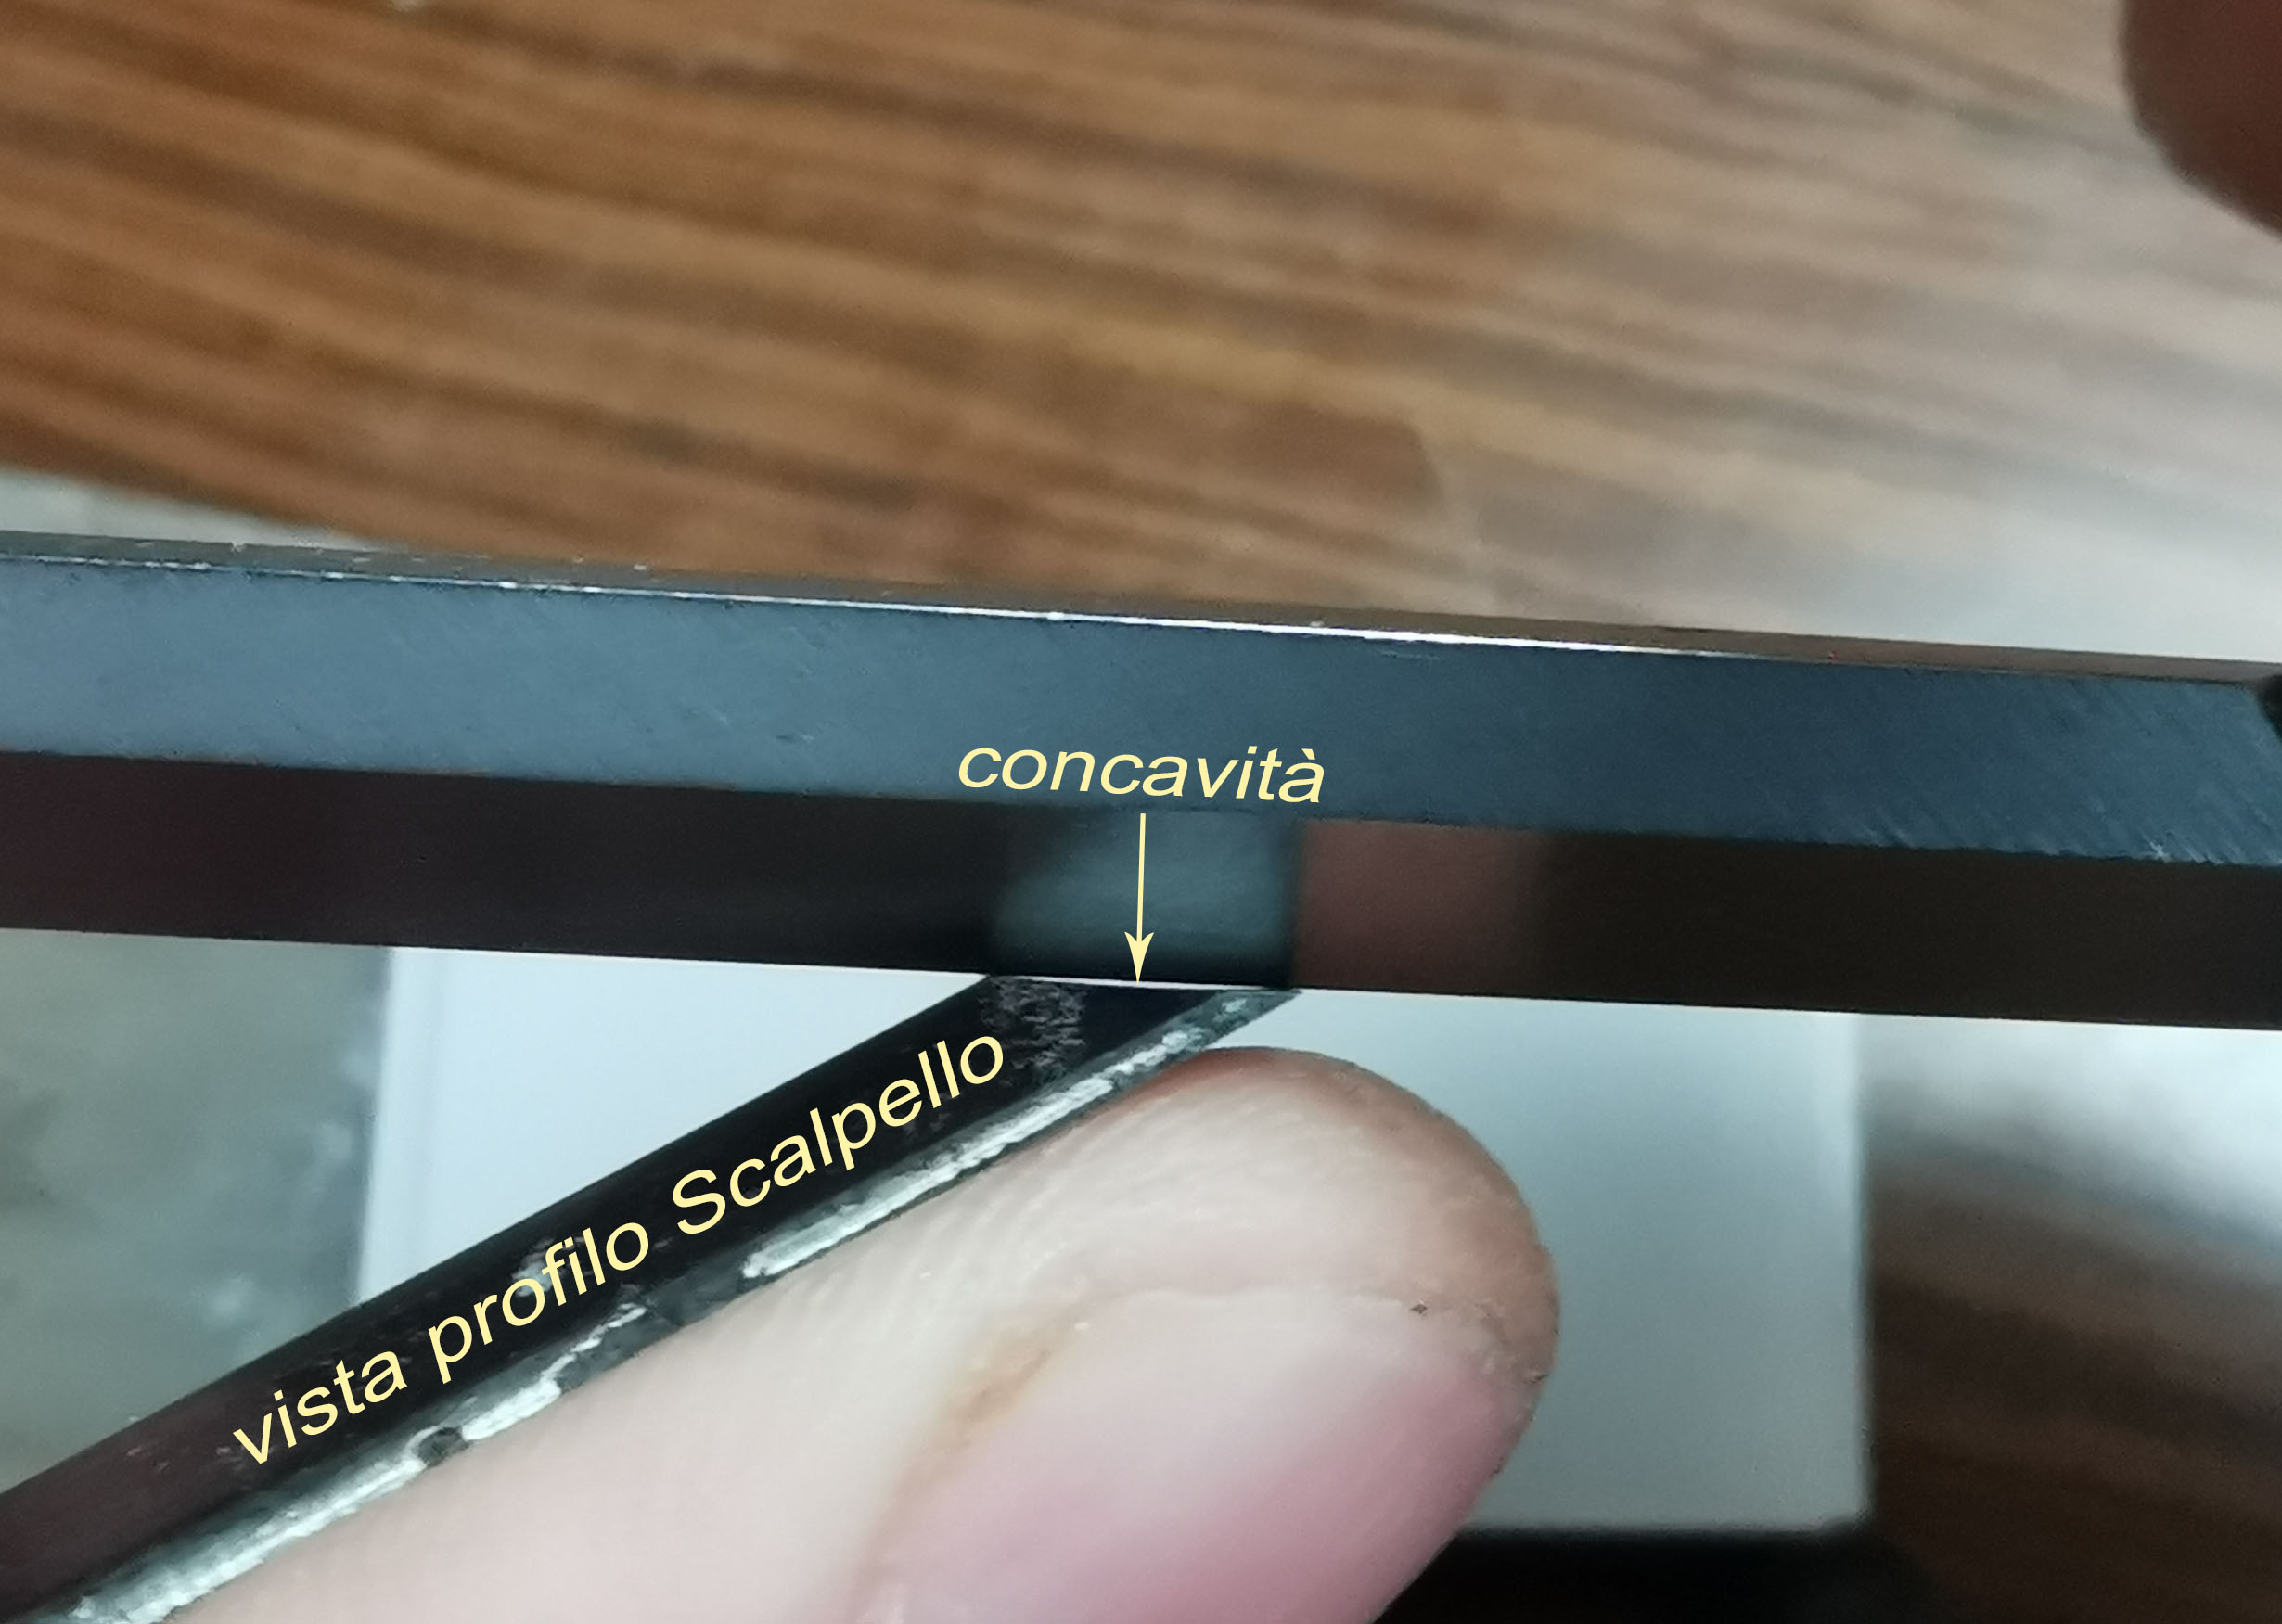
Beware the concavity of the bevel
It is important to create a concavity in the bevel, to simplify the subsequent steps.
Another important factor is the inclination given to the cutting edge. In principle, the smaller the angle, the greater the cutting capacity. Unfortunately, such a sharpened blade will have a very fragile edge that will wear out very easily. For manual work (chisels, gouges, knives and plane blades) tools should not be sharpened at angles below 20 degrees or above 35 degrees.
Another case is represented by lathe tools, but we will not deal with them in this article.
At 20° you can sharpen blades exclusively dedicated to processing soft woods (due to the very fragile edge). At 30/35° you can sharpen blades dedicated to processing hardwoods. Obviously it is not very practical to keep for each tool the soft-wood version and its hard-wood duplicate. We should have an endless tool park and it would not make sense. In reality, excellent results can also be obtained by finding compromises: usually an angle of about 30 degrees is maintained for "heavy" work tools such as chisels, gouges and knives. On the other hand, there is a tendency to sharpen plane blades with a slightly smaller angle (about 25 degrees). With this angle it is possible to efficiently plane both soft and hard woods, maintaining a decent edge life.